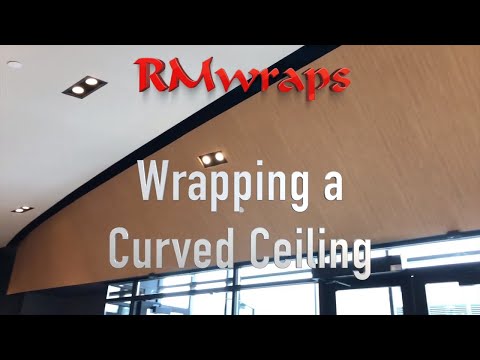
Learn how to apply architectural films to a curved ceiling for a seamless, professional finish that covers complex angles.
Wrapping a curved ceiling requires precision and the right technique to ensure the wood-like material adheres properly. This process focuses on reaching difficult areas using ladders safely while managing the material to avoid creases or bubbles during the installation process.
We show the steps to achieve a smooth surface wrap on challenging architectural features. By understanding how to apply tension and heat where necessary, you can achieve a high-end look on any curved surface using professional-grade vinyl installation methods.


Here's a video on how to install the 3M Di-Noc Architectural film on the ceiling. The Drywall needs to be level 5. Then add ZINSSER® Gardz Problem Surface Sealer https://amzn.to/2VZlmQT. The Film stick much better on the Gardz.
Wrapping a ceiling with architectural film can transform its appearance, providing a sophisticated and aesthetically pleasing look. RM Wraps offers a detailed guide on how to install architectural film on ceilings, creating the illusion of a seamless, large piece of wood grain. To achieve the best results, it is essential to prepare the surface properly. The walls and ceiling should have a level 5 finish, ensuring a very smooth surface. Applying two coats of Gardz clearcoat on the drywall is highly recommended. This clearcoat enhances the adhesion of the vinyl, ensuring it sticks better and lasts longer on both the walls and ceiling. By following these steps, you can achieve a stunning and durable finish that significantly enhances the visual appeal of any room.
